I’m calling this an attempt instead of a tutorial because I have no fucking idea what I’m doing. Yay! We’re creating out of necessity here, because I refuse to pay up the ass for maternity clothes that I’m only going to wear for the next three months. But of course, I’ve been hanging out in hubby’s boxers and sports bras at home because everything I own is super uncomfortable. With the exception of a few dresses, my wardrobe is pretty useless right now. And with the cool weather approaching, momma’s going to need some clothes.
So I’ve scoured the interwebs for easy DIY maternity wear, and I’m going to attempt them. Of course I’m starting with the hardest one, because it’s my favourite and I can’t do anything the easy way.
I saw these awesome wrap tops on some web site that I can’t seem to find now, but the basic jist is that it’s a wrap top that wraps a LOT so that you can accommodate your belly growing. And then once you’re done being pregnant, it can accommodate your belly shrinking. I found one singular pattern for this on Etsy, but it’s no longer in stock, so I’m going to attempt to wing it.
Whee!
I picked out a navy knit fabric, because I wanted the stretch and no-fraying capabilities, in case I was too lazy to hem everything. I got a metre and a half, and discovered once I started drafting a pattern that it wasn’t enough, just in case you’ve decided to crazily follow along with me, make sure you get 2.5-3 metres. It’s better to have too much then not enough.
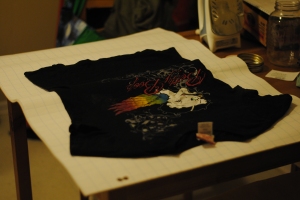
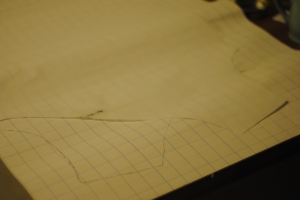
I picked out a t-shirt that still fit in the shoulders and arms nicely, and got out my trusty graph paper.
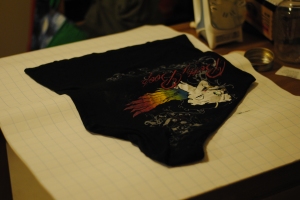
I folded the shirt to simulate a v neck wrap curve, and folded in the sleeve so that I’d have the proper shape to add sleeves later.
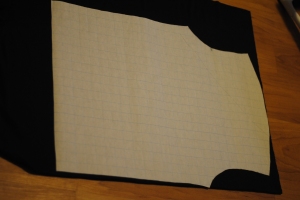
I traced a good inch seam allowance around this shape, to give me a flippable pattern for both sides of the front of the top. Once I cut it out, I used that to create a pattern for the back, which doesn’t have the v neck part.
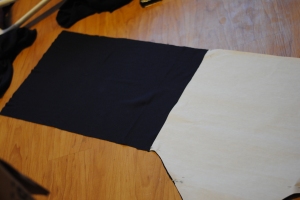
Once I had my two pieces, I started figuring out how I wanted to lay them out on the fabric. This is about the time I realized I didn’t have as much as I wanted, but a prototype is a prototype, and of course I got the fabric on clearance so the chances of more still being there were slim to none. So we’re working with what we got.
I pinned down the back piece on a fold, and cut it out all the way around except for the wrapping side.
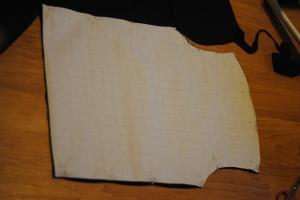
Some of this is being fabric frugal, some is just that sewing knits can be a pain so the less seams the better. ;)
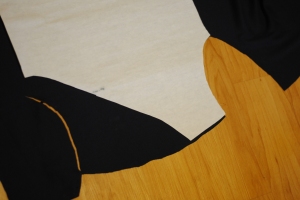
I unpinned that pattern, flipped the fabric, and pinned on the front pattern to cut the one side to that measurement. Once finished, I was left with the back and half of the front. I left the excess fabric at the wrap part.
I set that aside, and then with the rest of the fabric I cut another front piece, leaving as long of a tail as I could on the wrap part.
I already had a sinking feeling this wasn’t going to be long enough, but too late to turn back now! I pinned the pieces together at the shoulders and up one side, wrong sides together.
I did a light basting stitch with about a centimetre seam allowance so that I could do a test run and see where I needed adjustments. It actually didn’t turn out half bad. I had a picture, but upon uploading from my phone it was way too dark and you can’t see the top. So you won’t be subjected to my pyjama pants. It fit okay, but the tails weren’t long enough to tie, and the v neck wasn’t quite deep enough to comfortably wrap around my boobs.
I reinforced my seams with some zigzagging for strength, and hemmed the back of the collar for good measure.
Then I added two leftover rectangular strips of fabric to both wrap tails, even though they were thinner, to give me something to tie the top with.
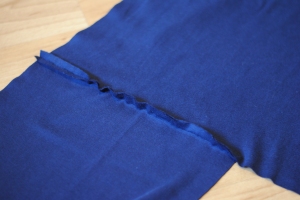
I also flatten the seam after straight stitching to then zigzag on top for strength and comfort. Ironing is helpful here.
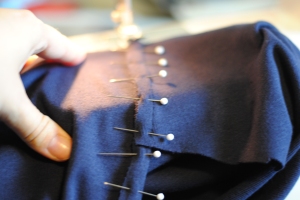
I did a second wear, and actually got it tied up. It was at this point that I knew I’d need to do some actual fitting before finishing all of my edges and smoothing out the tails, which is hard to do on my own body. Thus this will be part one of two, because hubby is going to have to help with some creative pinning. And then I’ll get a photo of the finished project with actual pants on.
Til next time!

Maternity clothes are soooo expensive. I’m with you and have refused to buy them haha but now I’m 5 weeks away from my due date and have about 2-3 things that fit comfortably. Thanks for sharing the post and good luck!
Thanks! We’ll see how it turns out :)
You are far, far better at sewing patterns than me. I can’t even follow what you’re doing there lol, but I can’t wait to see it :D
LOL we shall see.